Thornbound Realms
The Gloaming
Survive together. Crown a champion.
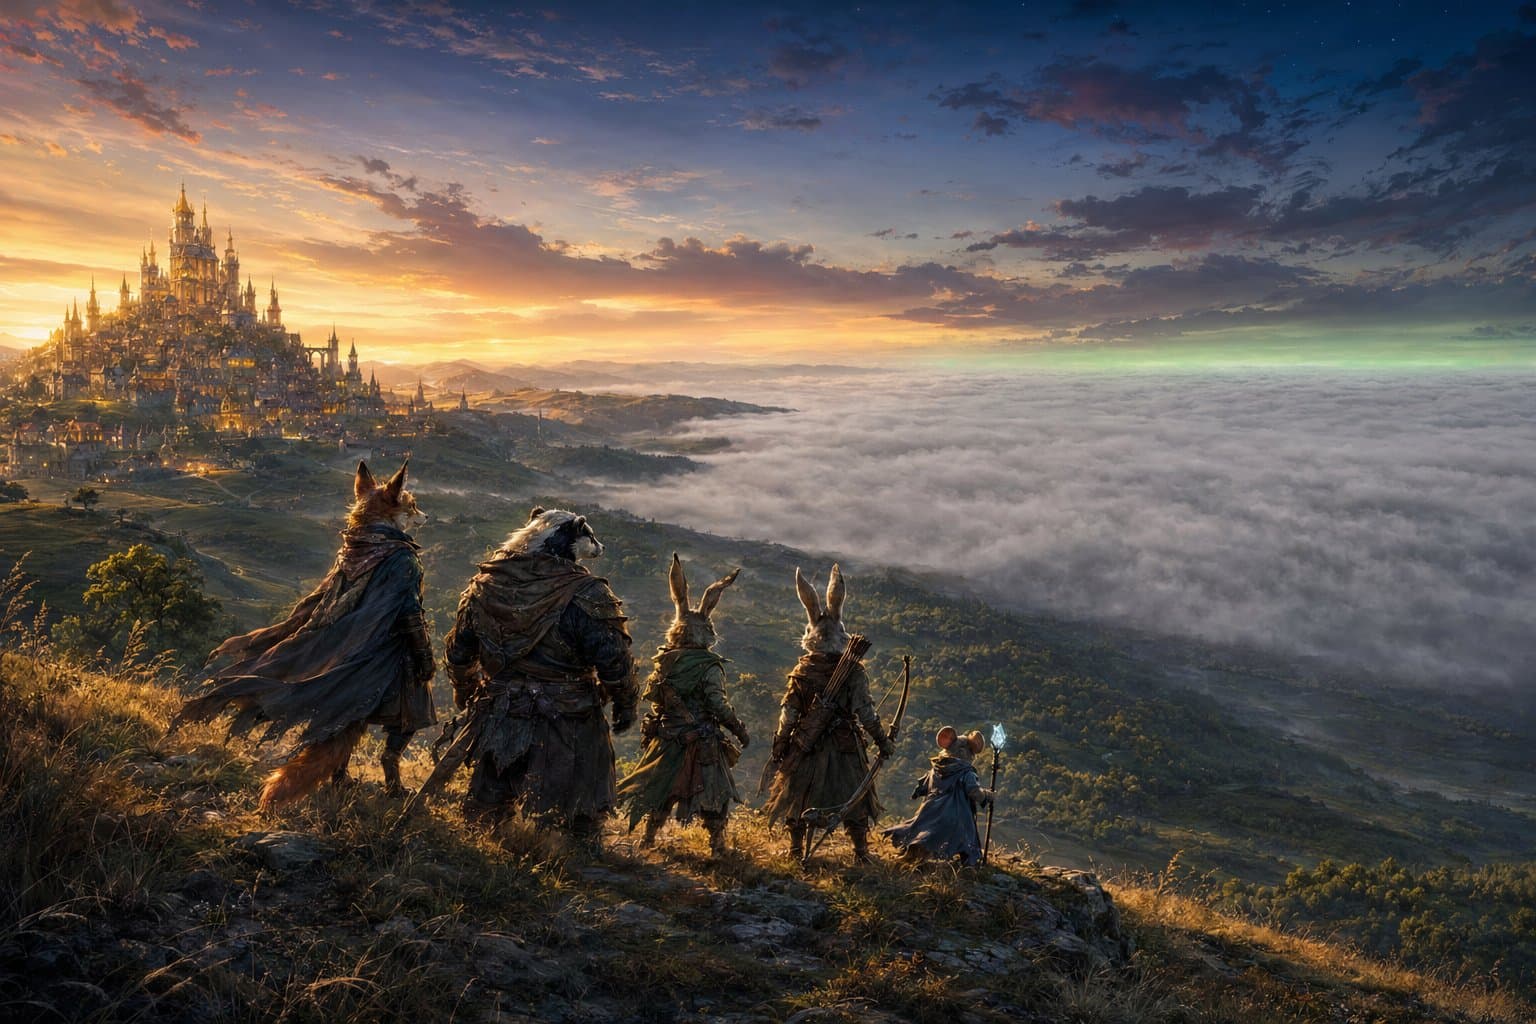
Each of you plays one of five animal heroes in a land buried under fog. Explore it hex by hex, rebuild its ruined towns, recruit an army, take on the noble houses’ quests, and finally storm the Rat King’s fortress, ideally before the mist swallows everything you’ve just rebuilt.
- players
- 1–4
- players
- heroes
- 5
- heroes
- hex tiles
- 61
- hex tiles
- figures
- 76
- figures
Solo mode included. Advanced Mode adds a fifth player as the rats.
How it plays
Everyone can lose. Only one can win.
You cooperate to survive, because if the Rat King wins, everyone loses together. You compete for renown, because when the kingdom is saved, only one of you gets to be the hero of the story.
Move
Cross the hex map. Stepping into the fog costs 2 movement and flips the tile: wheat, woods, a cave, a ruin, or worse.
Act
One action: harvest, buy gear, recruit, rebuild a town, quest, trade, rest, cleanse corruption, or assault the castle.
The wilds
Outside a town, roll for an encounter. Traders, robbers, treasure. The wilds are rarely empty.
Feed the army
One food per soldier, two per cavalry. A bigger army hits harder, and eats more.
When the last player finishes, the rats take their turn.
The Terror Track
It only goes up
A shared clock from 0 to 10, and it never goes down. Rat events, fallen towns and fallen heroes push it on. At 3, 6 and 8 the mist surges back over ground you’ve cleared. At 10, the mist swallows the land.
- 0
- 1
- 2
- 3Mist surge: the wilds go dark again
- 4
- 5
- 6Mist surge: the frontier too
- 7The Rat Castle is revealed
- 8Mist surge: everywhere. The Lumenhall can be attacked
- 9
- 10The mist swallows the land. Everyone loses
Terror 0–3
Early game
Explore the green zone, gather resources and rebuild the ruined towns. The world feels safe. It isn’t: corruption is already seeping in at the edges.
Terror 4–6
Mid game
Push into the frontier. Fight over crystal, build your army, finish quests. Rat scouts probe your defences and the mist surges back over ground you’d cleared.
Terror 7–9
Late game
The Rat Castle is revealed and armies pour out of it. Towns fall under siege. Now it’s a race: march on the castle before Terror reaches 10.
To battle
When the talking stops
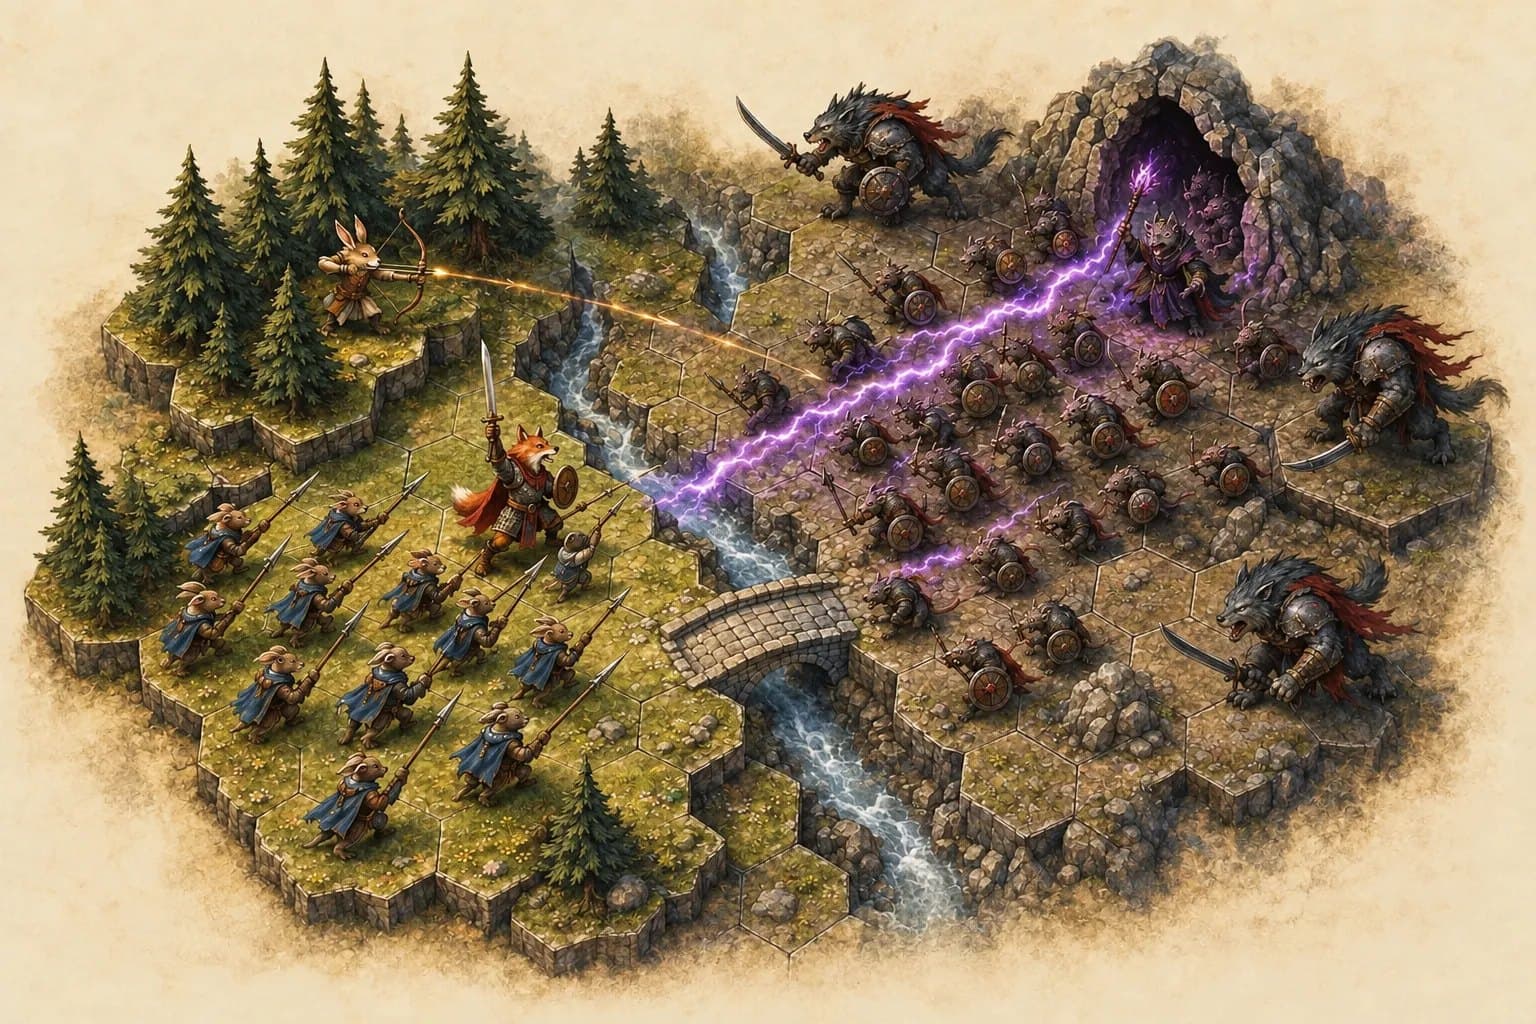
Sooner or later somebody draws steel. When your army meets the rats, the fight leaves the hex map for a battle map built from the ground you’re standing on: open field, forest, rocky pass, cavern, crystal clearing, the city walls and, at the very end, the Rat Castle. Your hero and every unit you’ve hired take the field as miniatures.
Deploy
The attacker sets up first. The defender watches every enemy unit hit the field, then commits. Enjoy it: the game hands out very few free advantages.
Initiative
Every unit on both sides acts in initiative order, highest first. No “your turn, my turn”: you’re never more than one activation from a decision.
Move and act
Each activation is one move and one action: strike, shoot, channel a spell, use an item, or try to disengage.
Roll
Attack dice against defence dice, rolled together. 3–5 hits or blocks; a 6 is a critical, and a critical block can even break the attacker’s weapon.
“If you want to shield your backline, put it behind a rock, not behind a friend.”
Units never block line of sight. Terrain does.
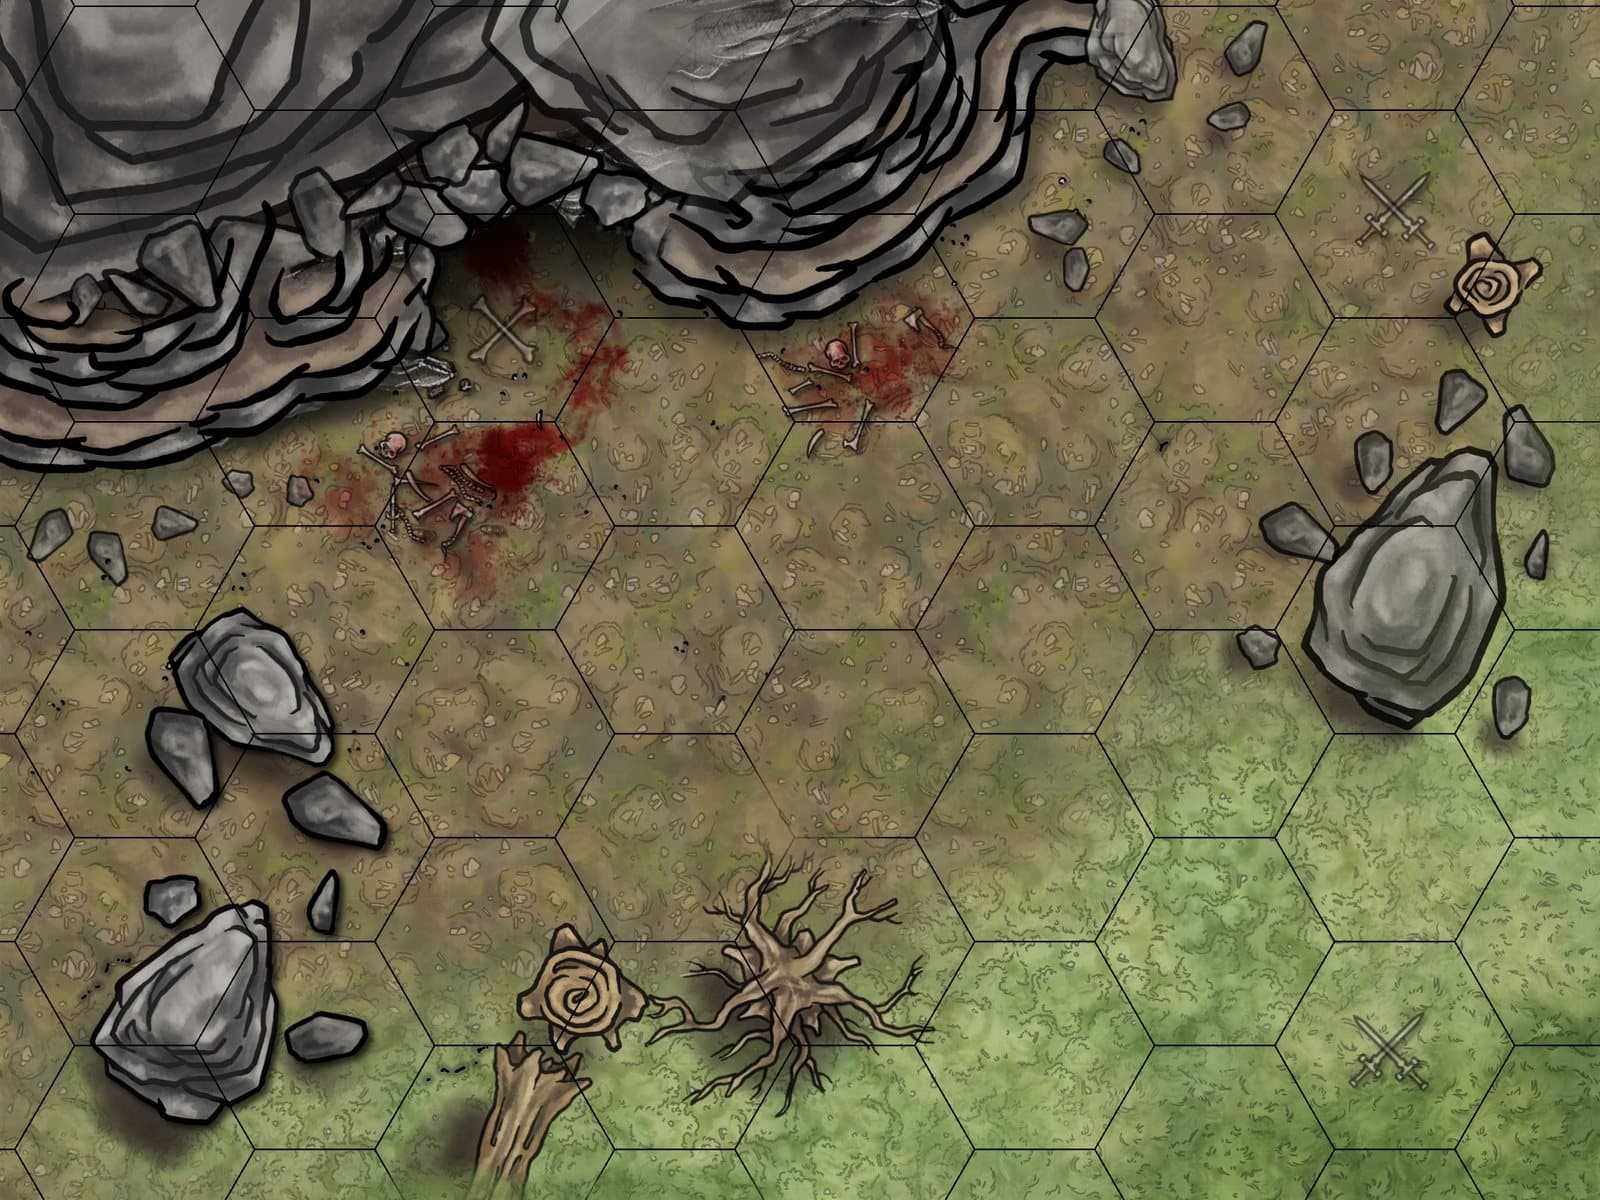
Forest
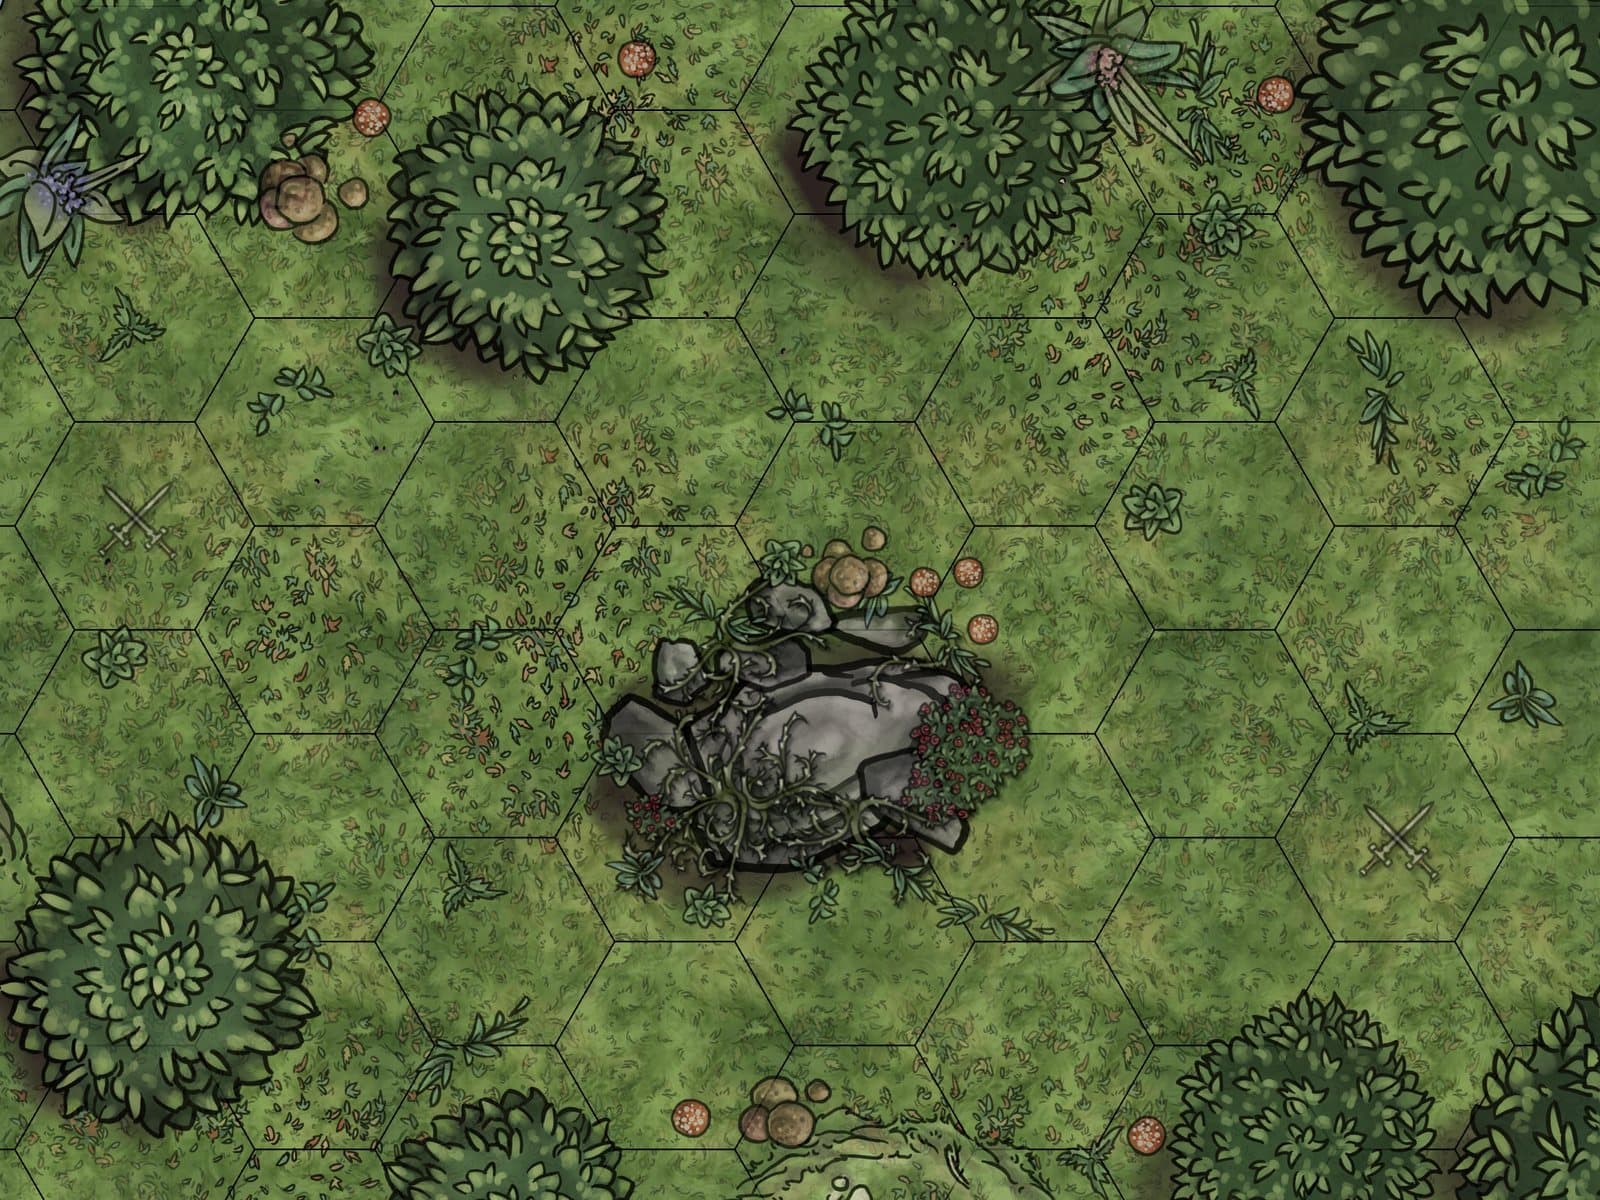
Trees give +1 defence and block line of sight.
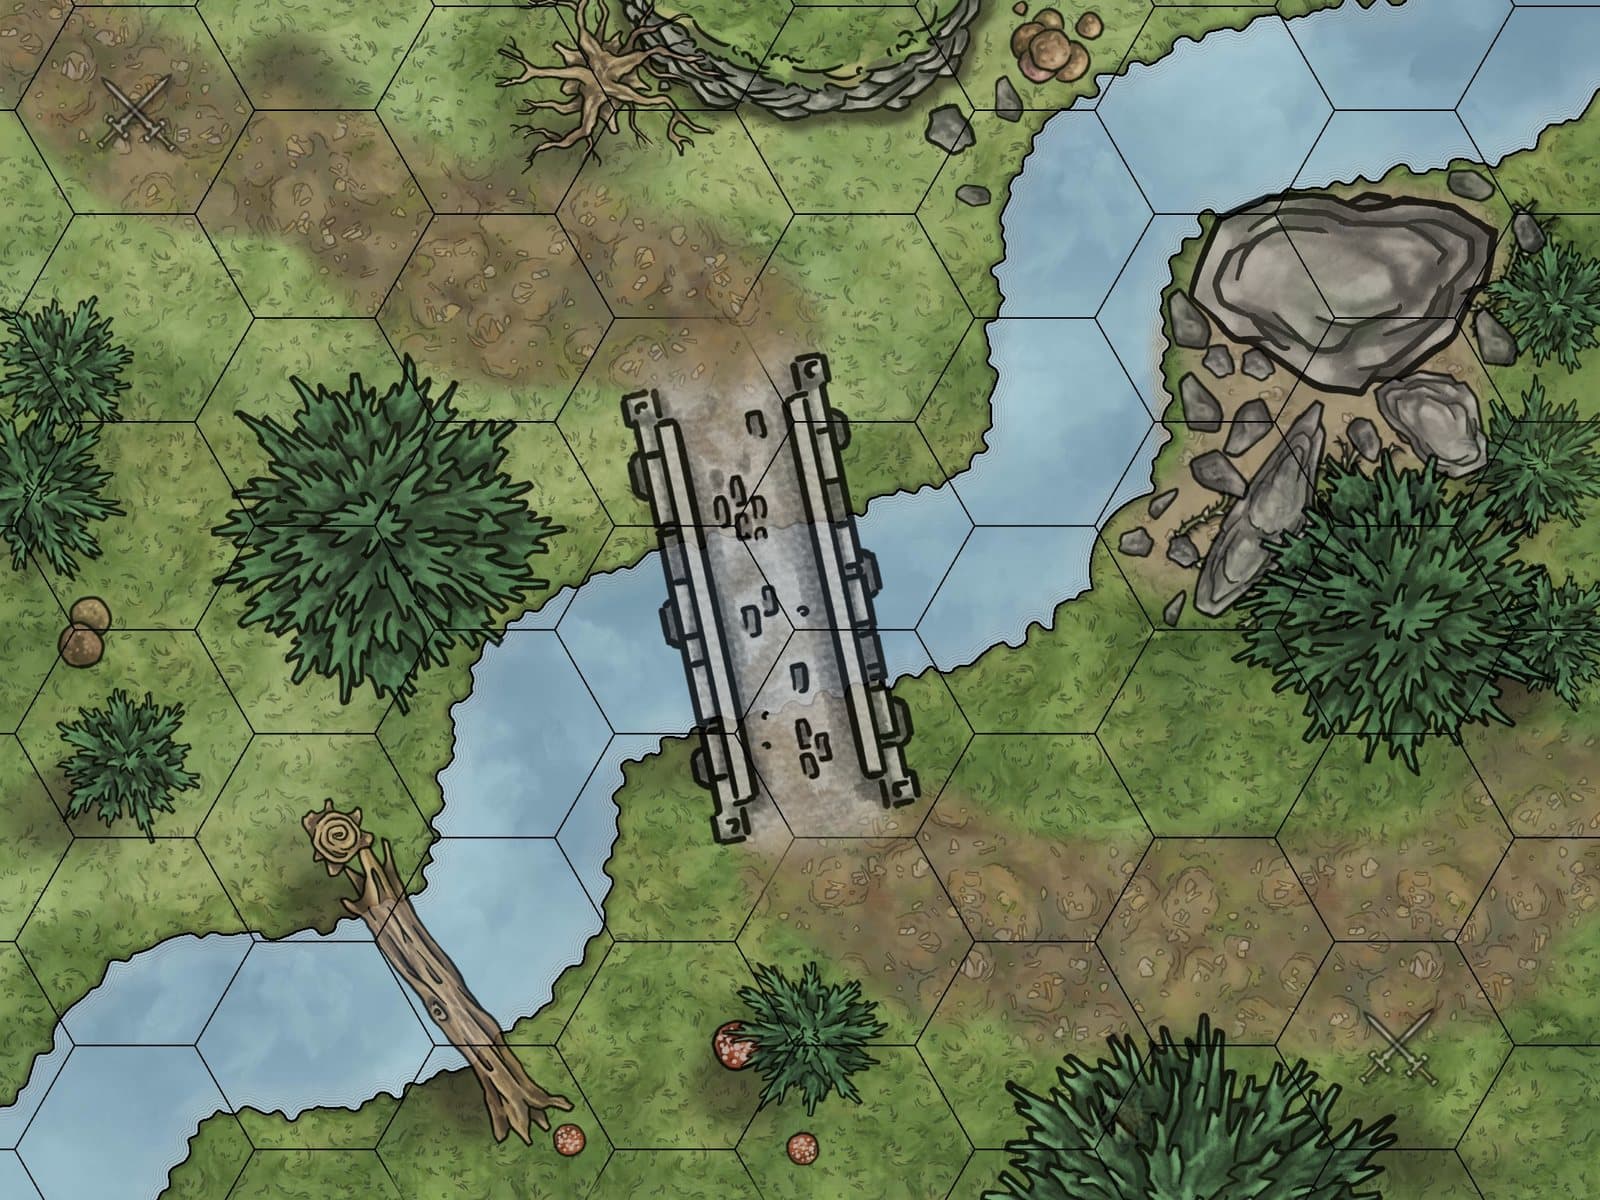
River crossing
Water is impassable. Hold the bridge.
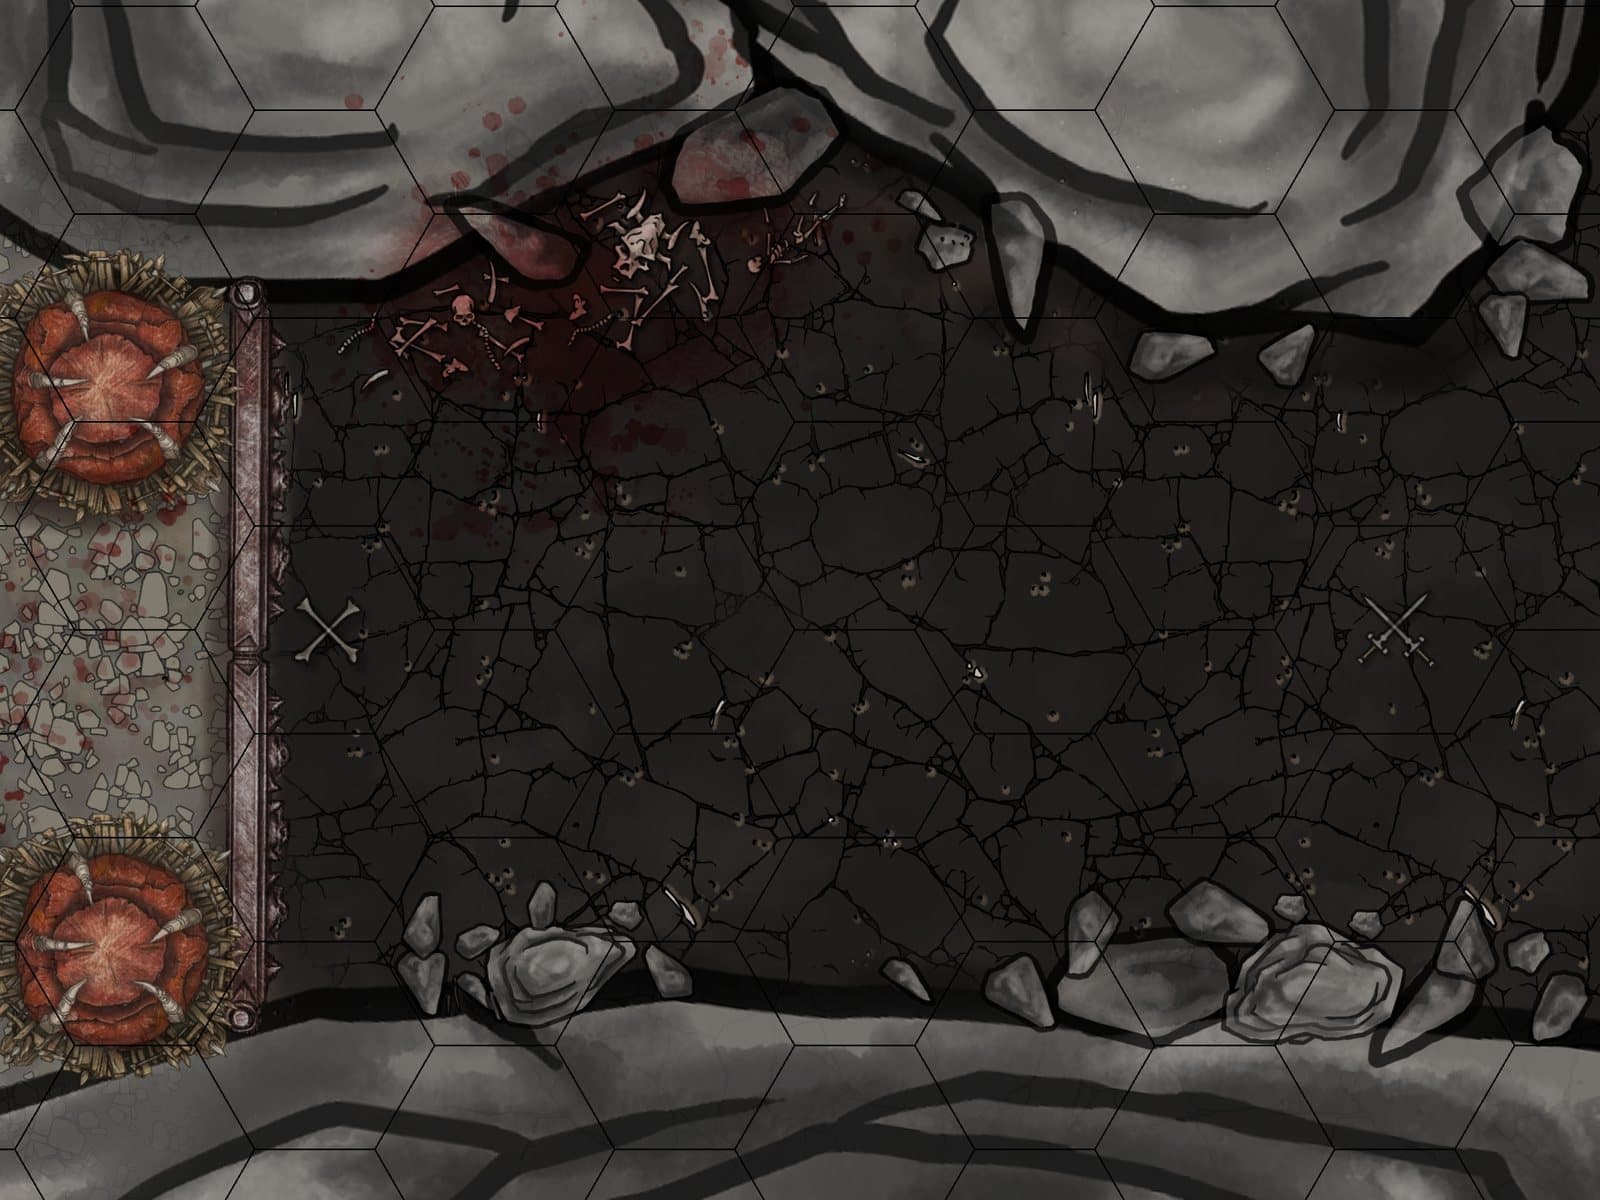
Cavern
Narrow passages, choke points and ambushes.
The Rat Castle
The final assault, against everything that’s left.
Heroes are beaten, never killed. Fall in battle and you limp back to the Lumenhall with 1 health, your army routs, and the Terror Track climbs. You keep your perks and your quests; you lose your kit and your soldiers. The rats, for their part, never retreat.
Raise an army
Gold up front. Food every turn.
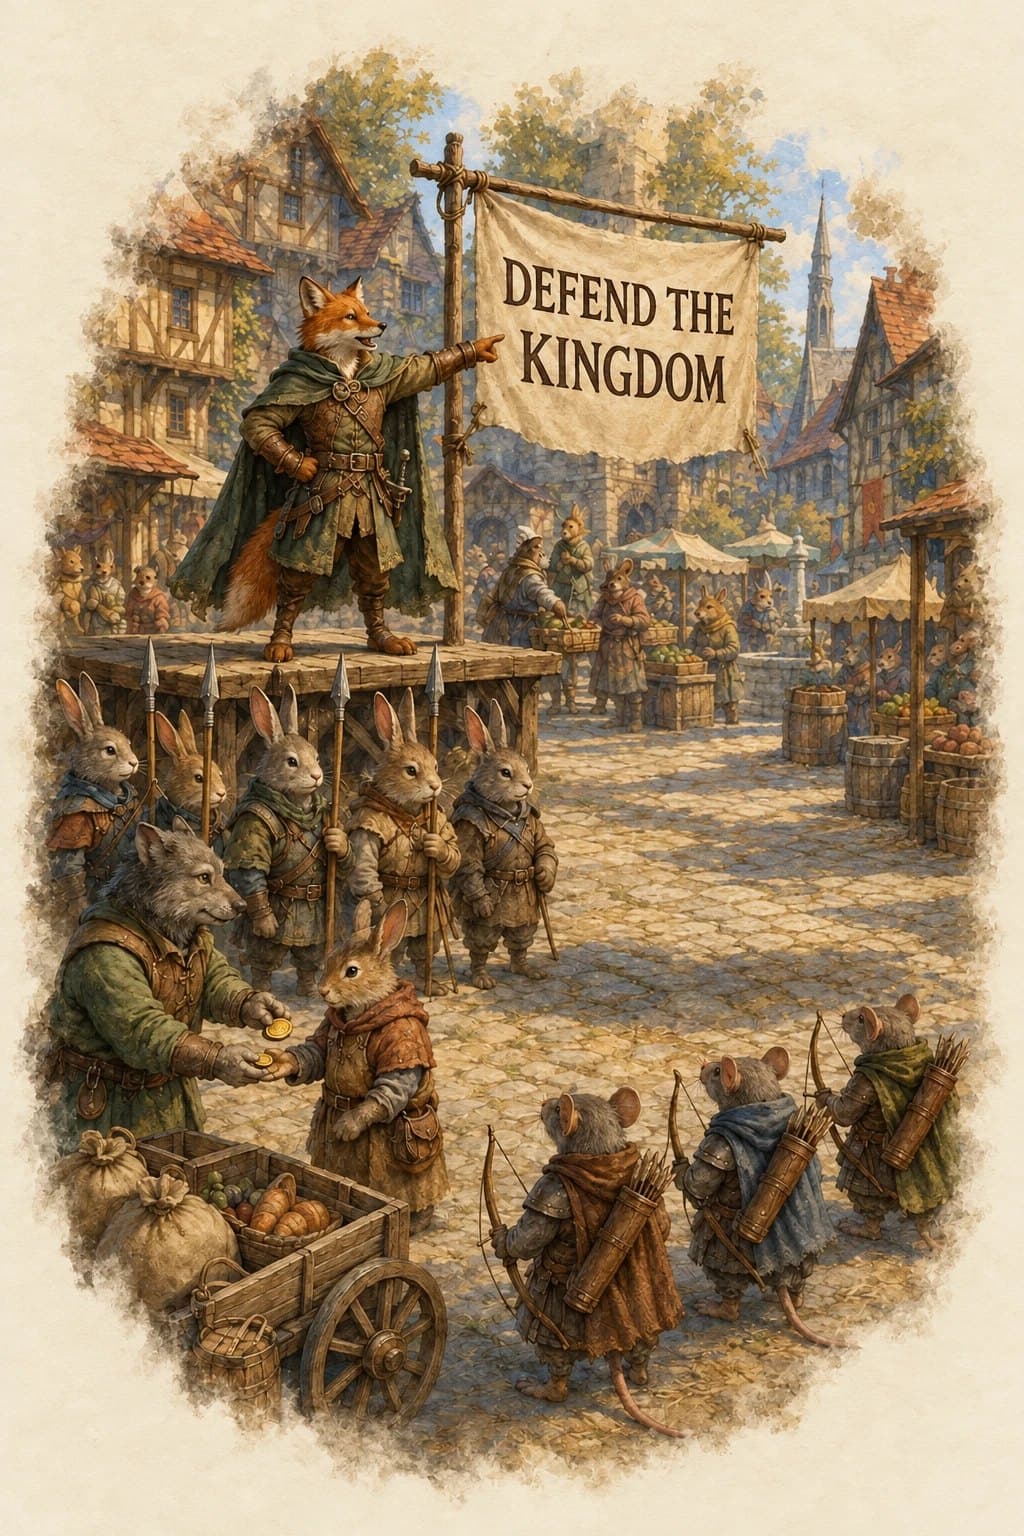
Spend your action in a rebuilt town, or at the Lumenhall, to hire a soldier: one unit per action, so an army is raised one recruit at a time. The gold is paid up front. The food bill arrives every turn after, and keeps arriving until the unit doesn’t.
Spearman
2 gold1 food/turn
HP 2 · ATK 1 · DEF 1. Range 2: strikes over the heads of friendly troops.
Archer
3 gold1 food/turn
HP 1 · ATK 2 · DEF 0. Range 4 with line of sight. Only 1 die once the fight turns to melee.
Cavalry
5 gold2 food/turn
HP 3 · ATK 3 · DEF 1. Charge: +1 attack after moving 3+ hexes. Can’t deploy on mountain maps.
- Six army slots, and your hero takes one of them.
- Leave troops behind to garrison a town as you march on: two per town, four at the Lumenhall.
- Cavalry can only be hired at the Lumenhall or a garrison town.
- Dismiss a unit at any time to stop feeding it.
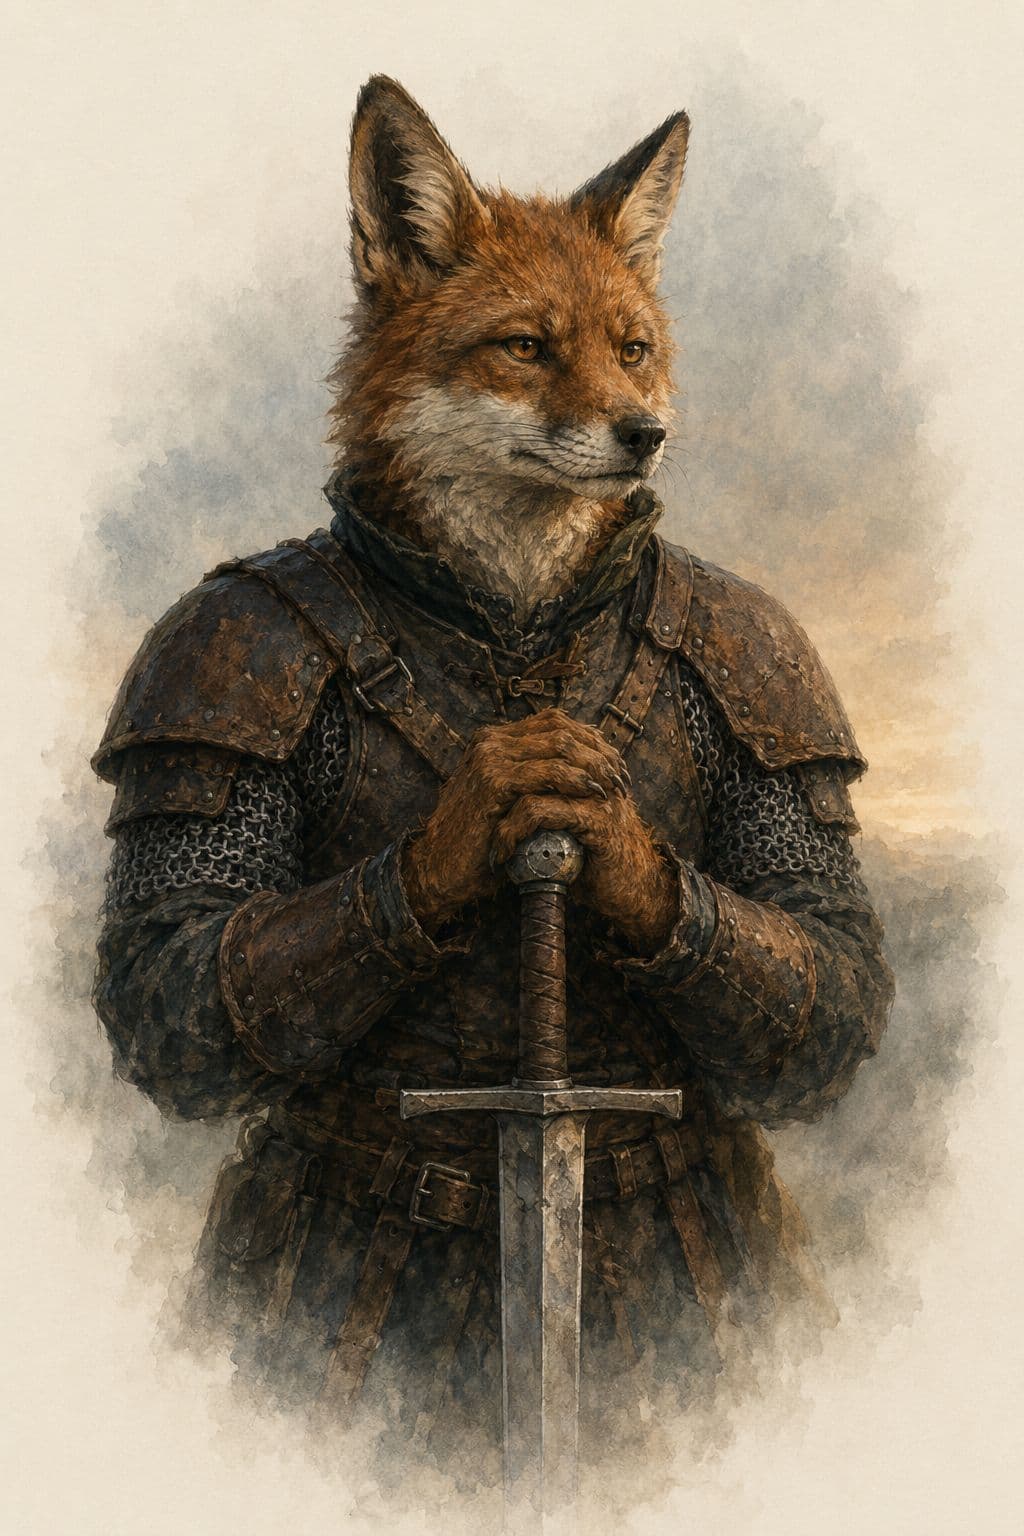
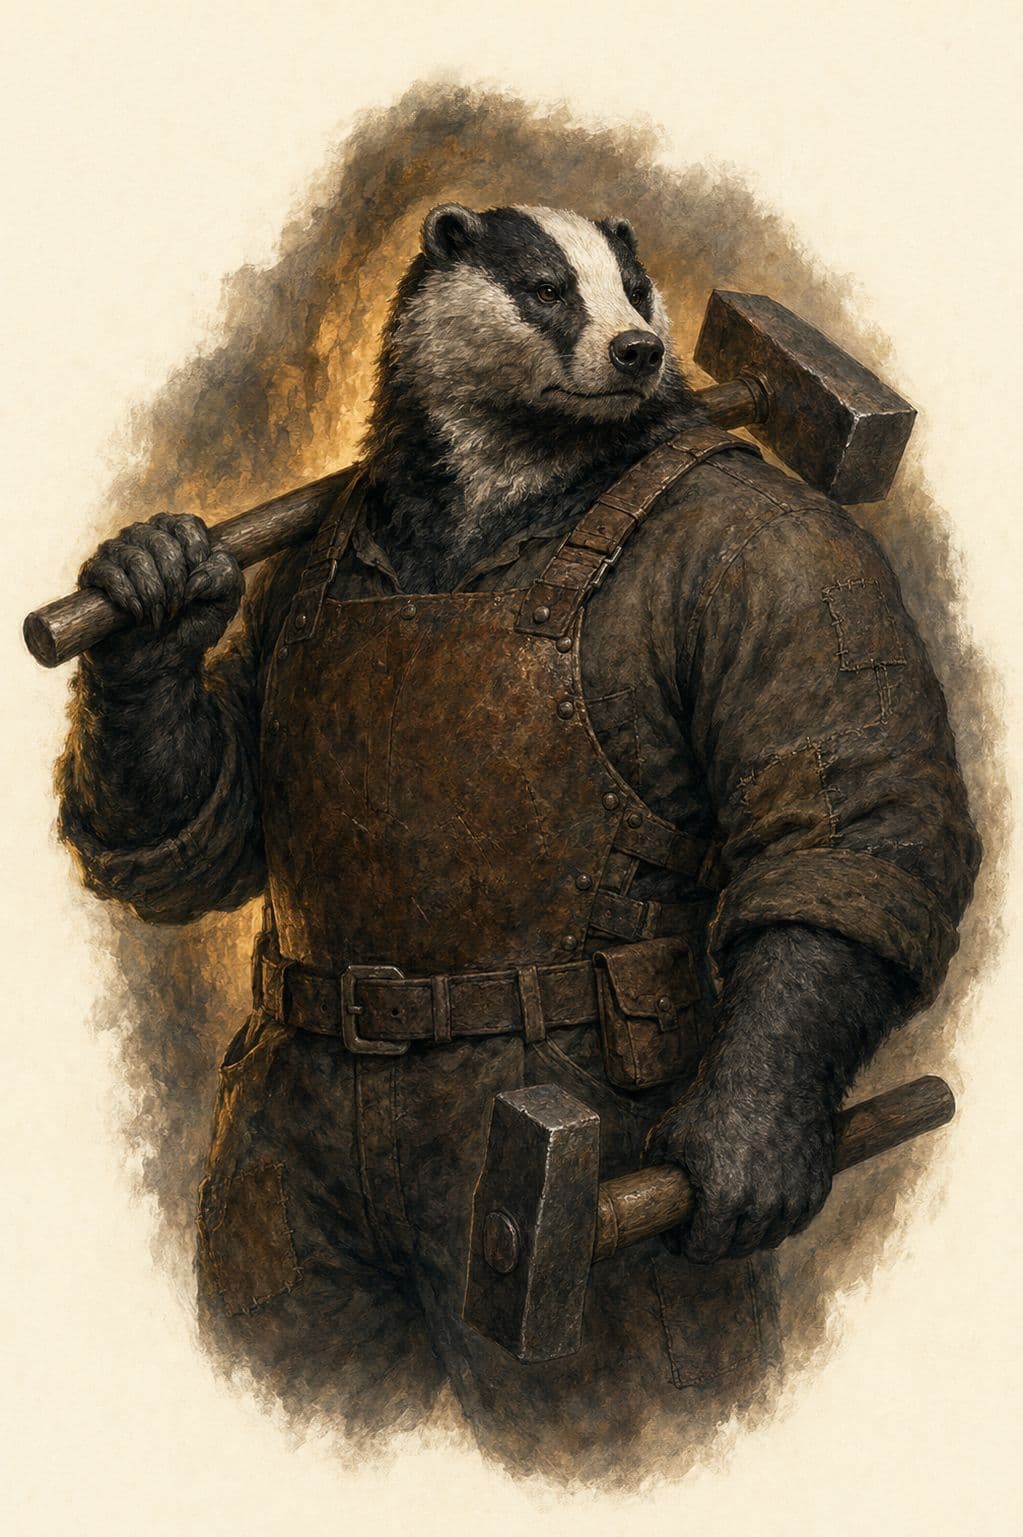
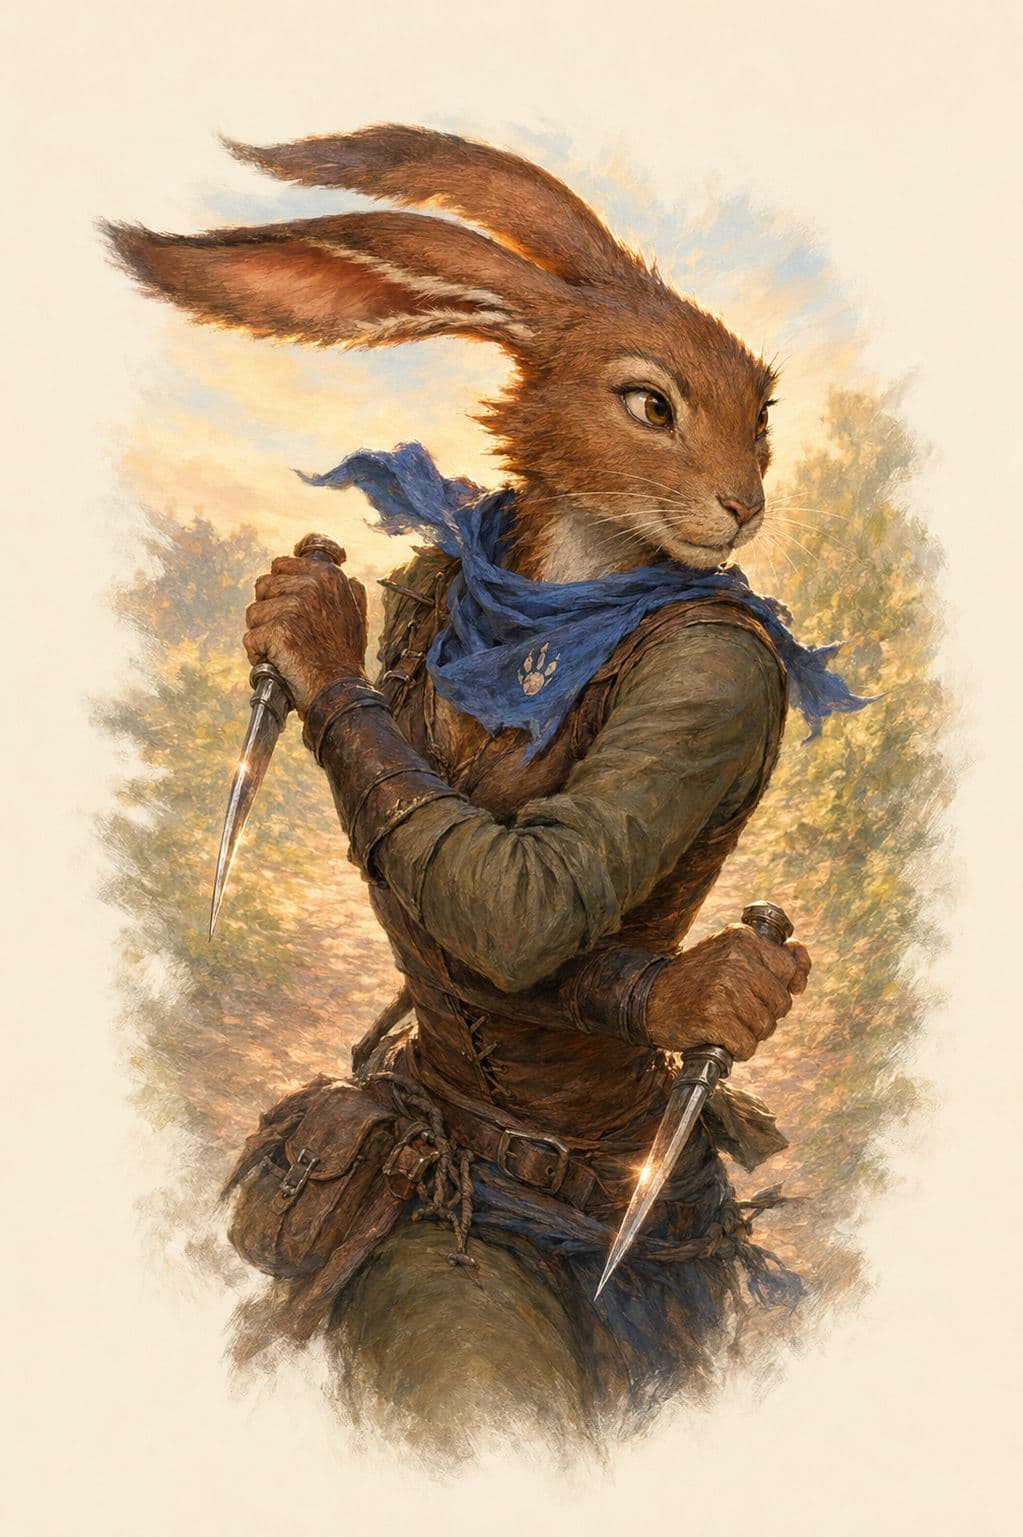
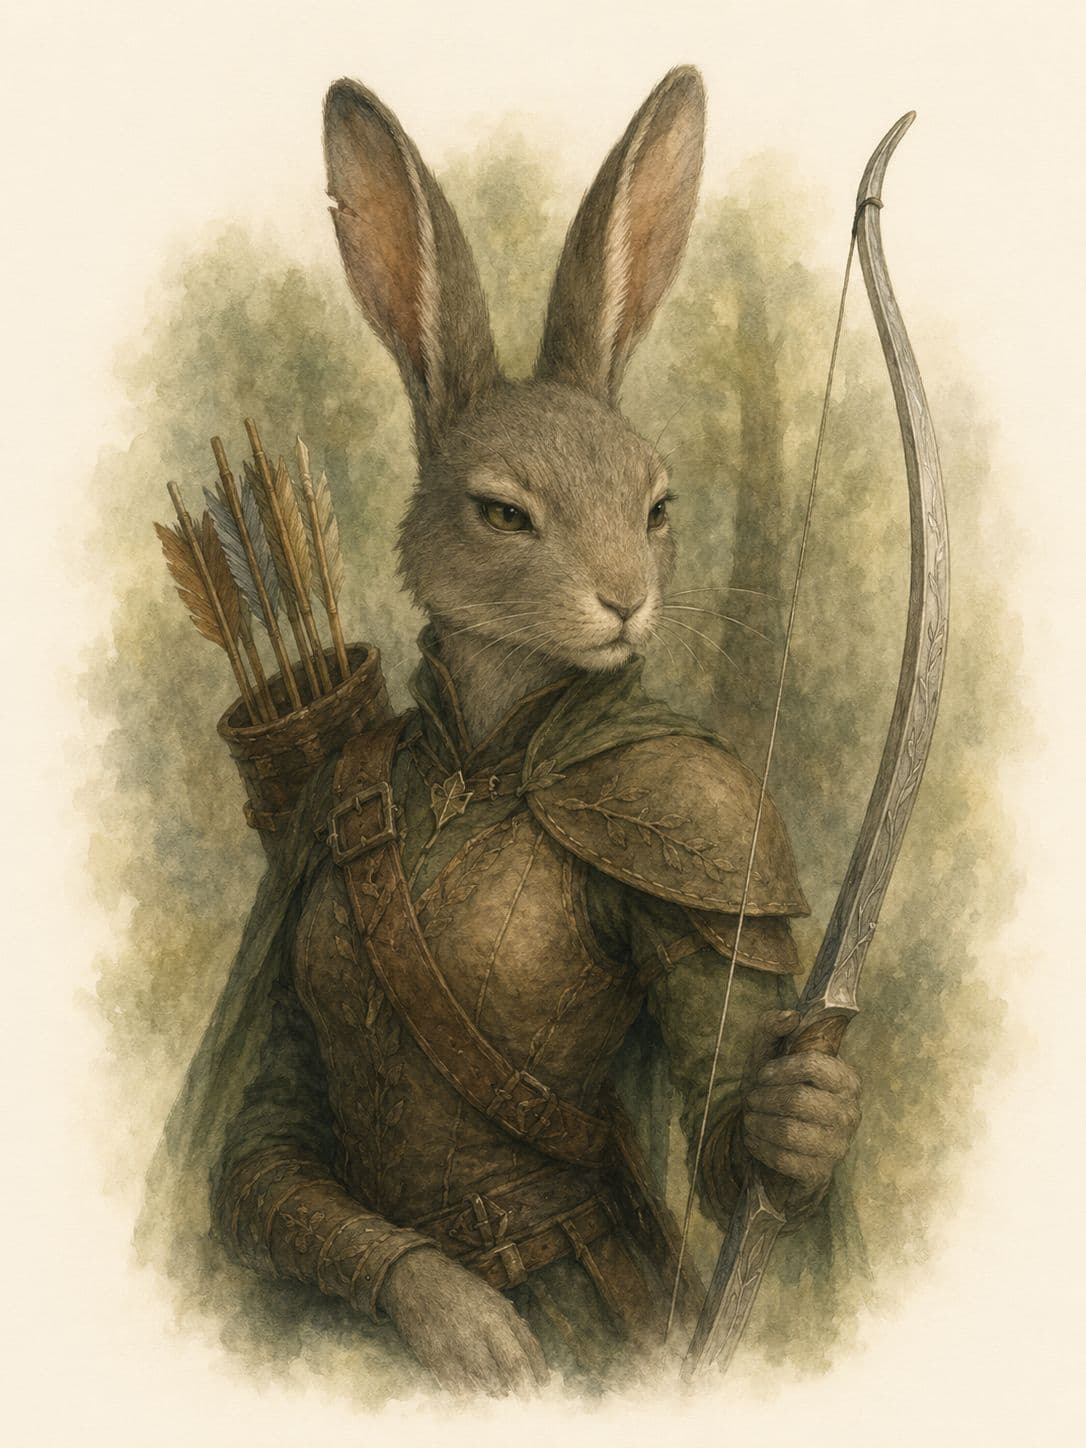
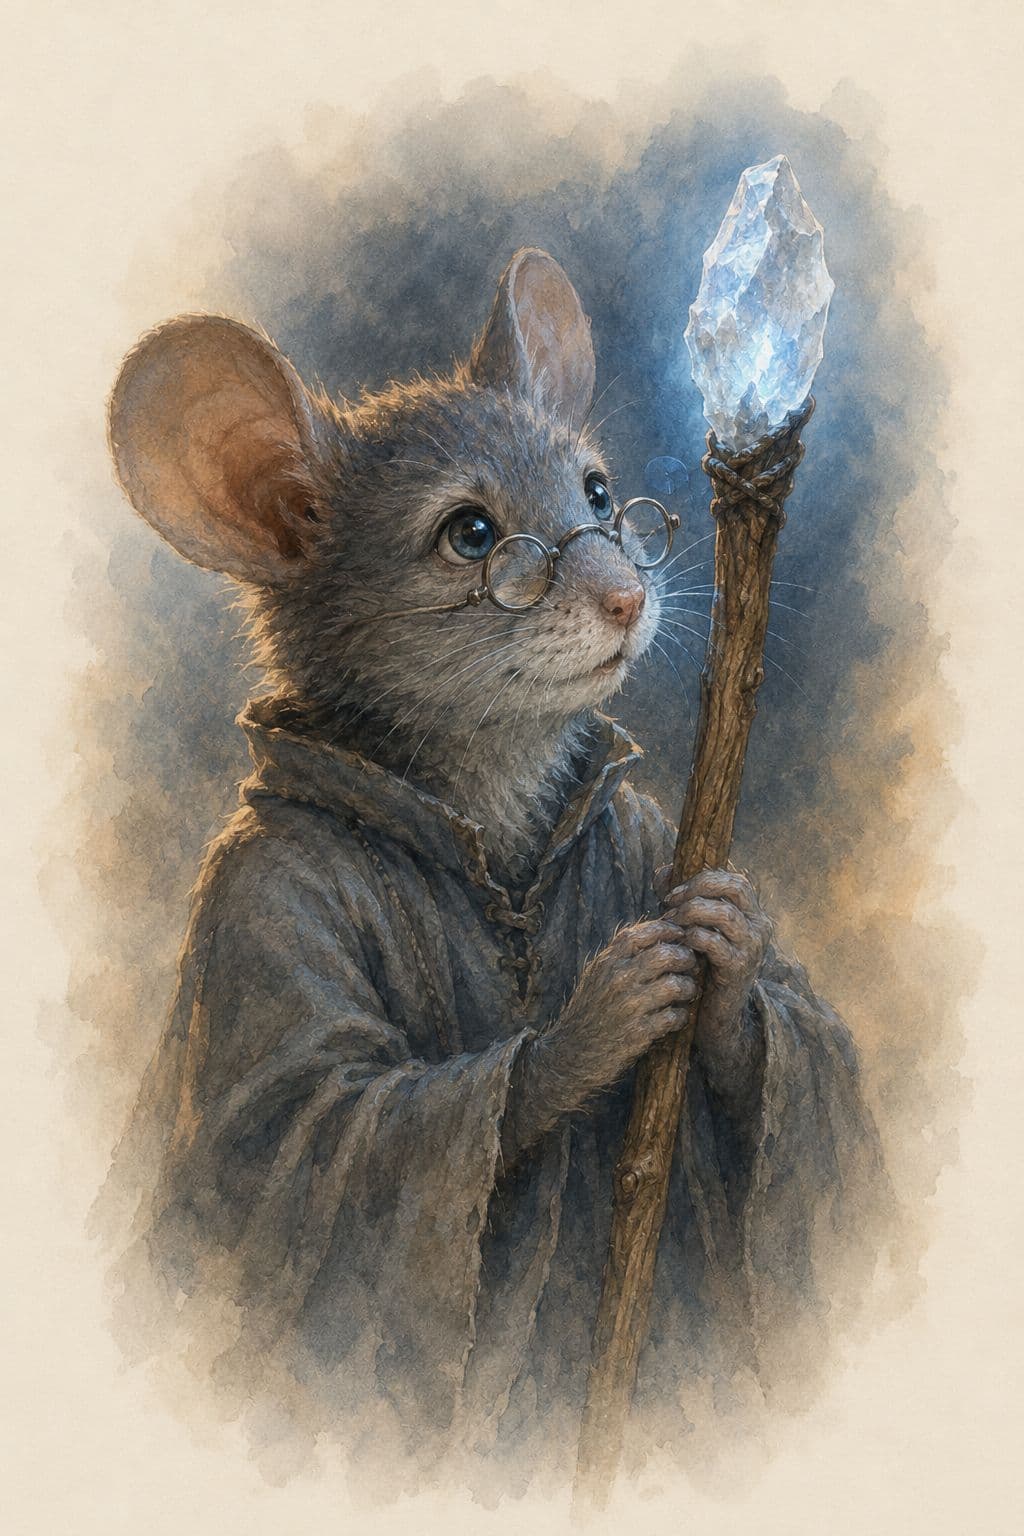
Tales of the Gloaming
Every hero has a story
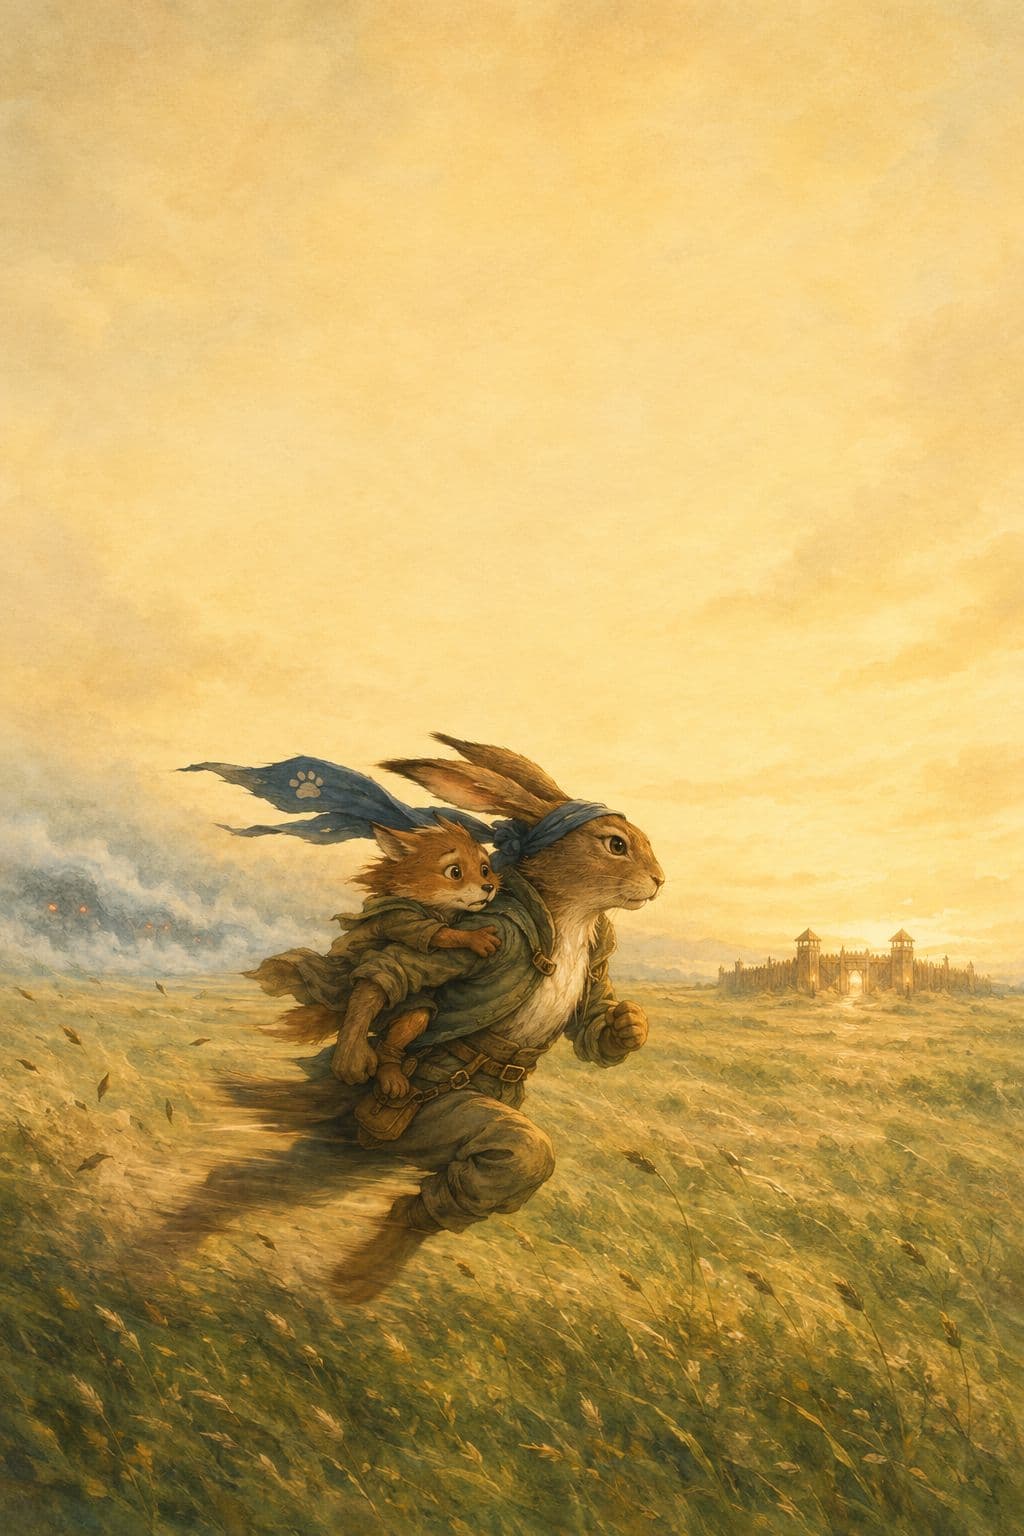
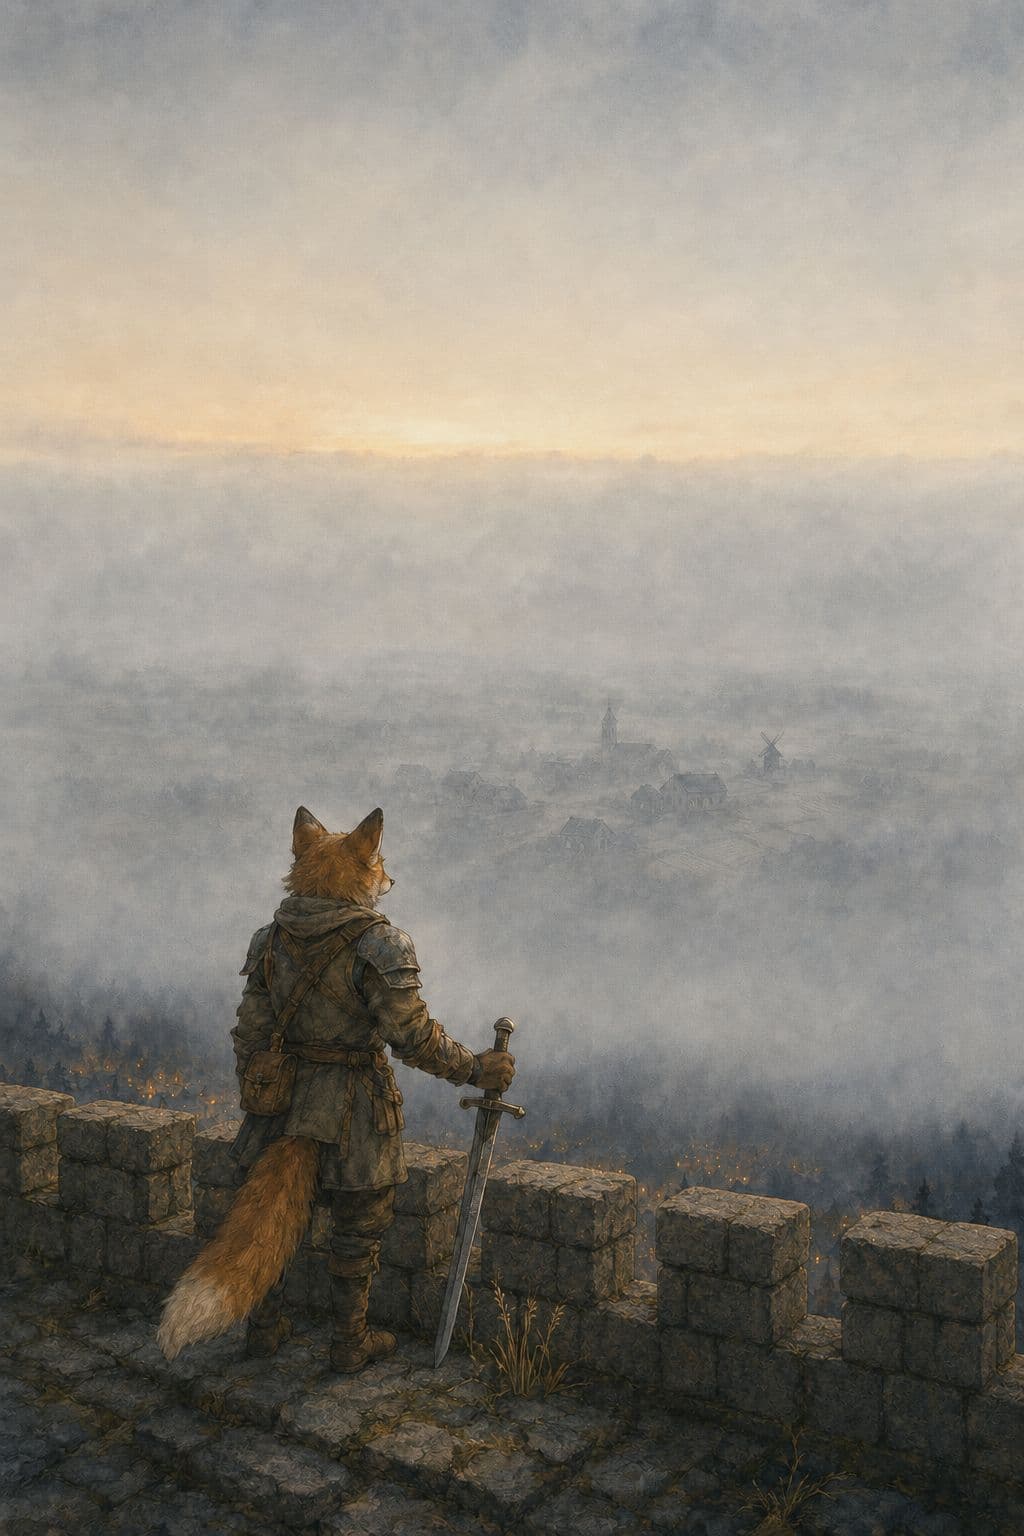
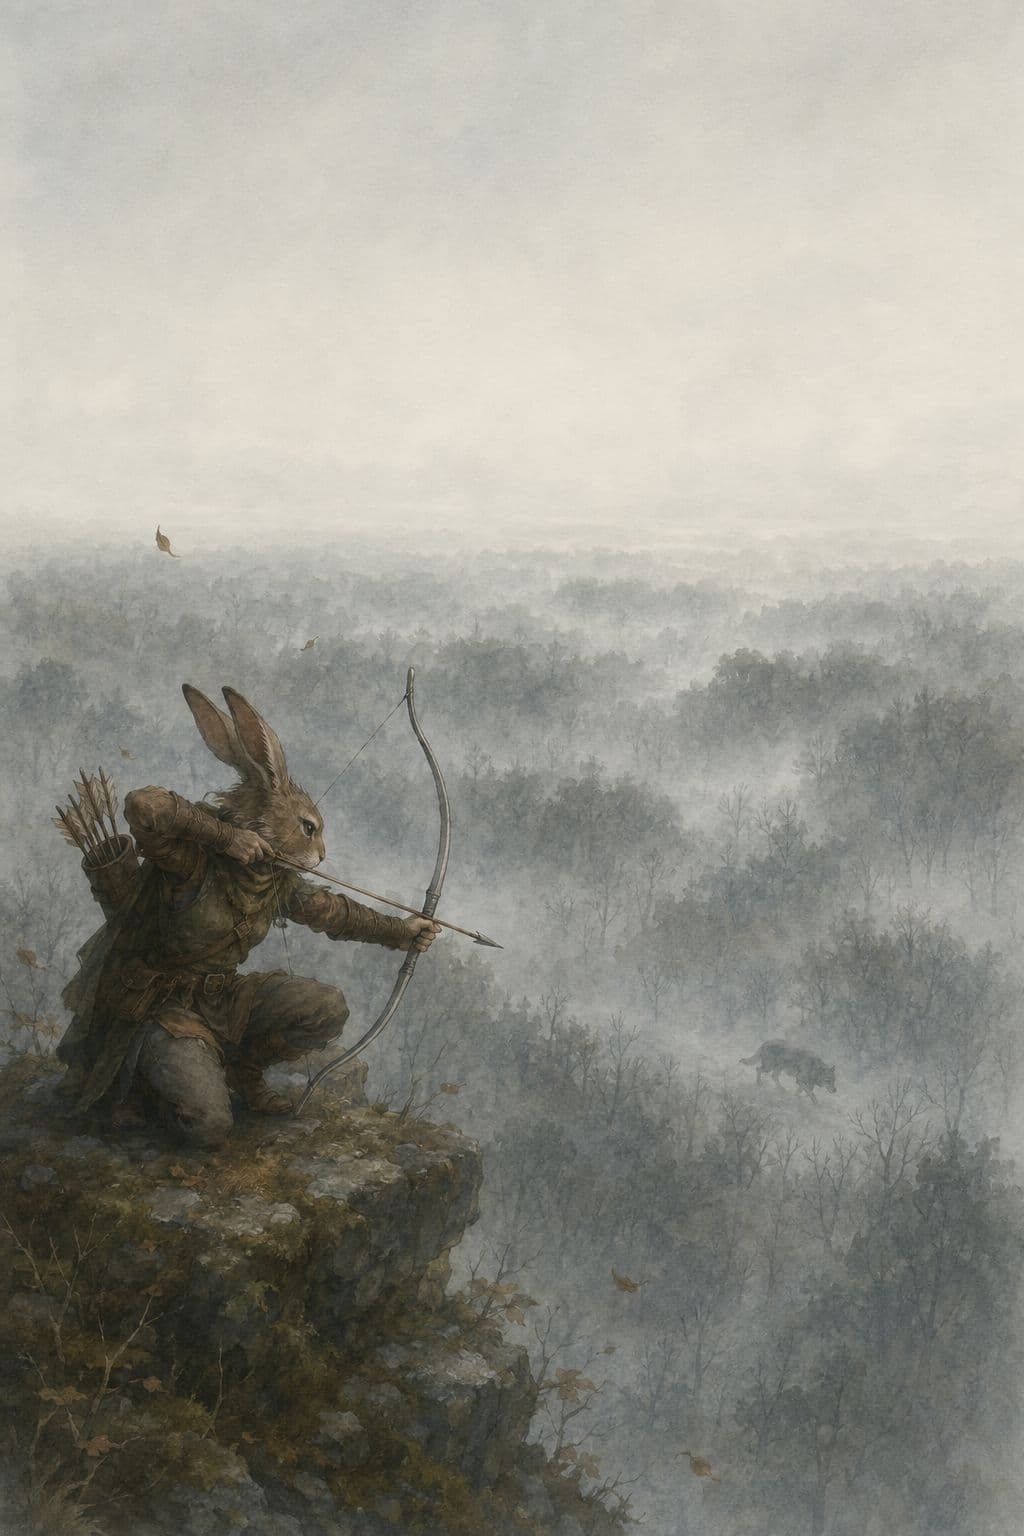
Six illustrated novellas: one for each hero, and one for the enemy. Read how they came to the Lumenhall, and what the mist took from each of them on the way.
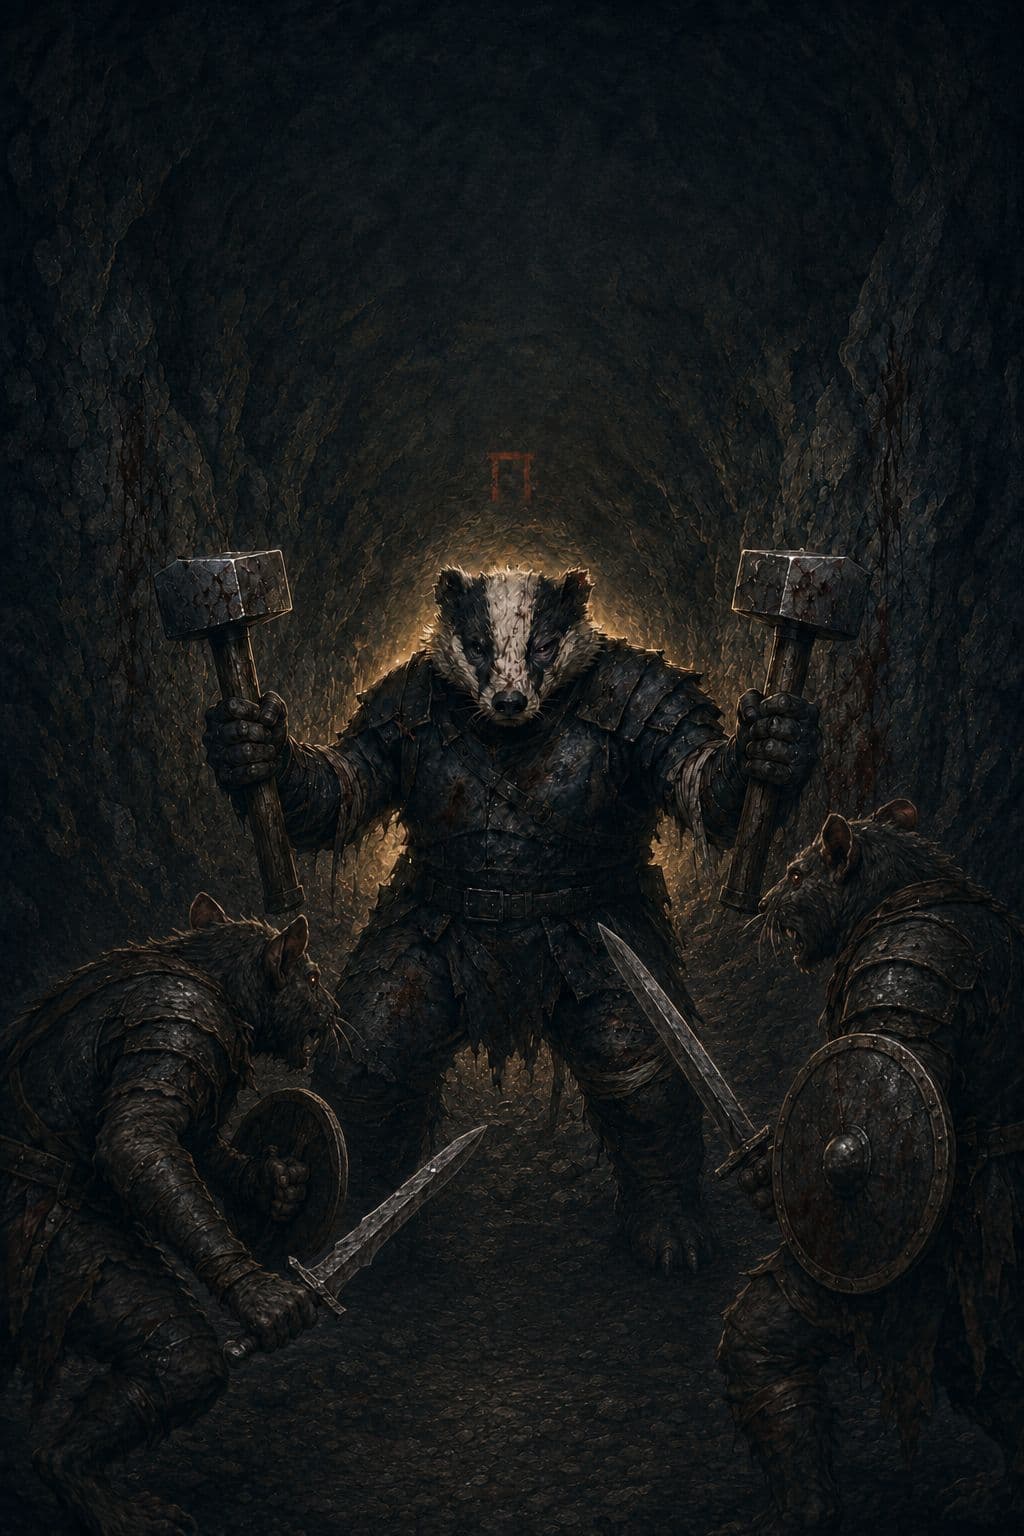
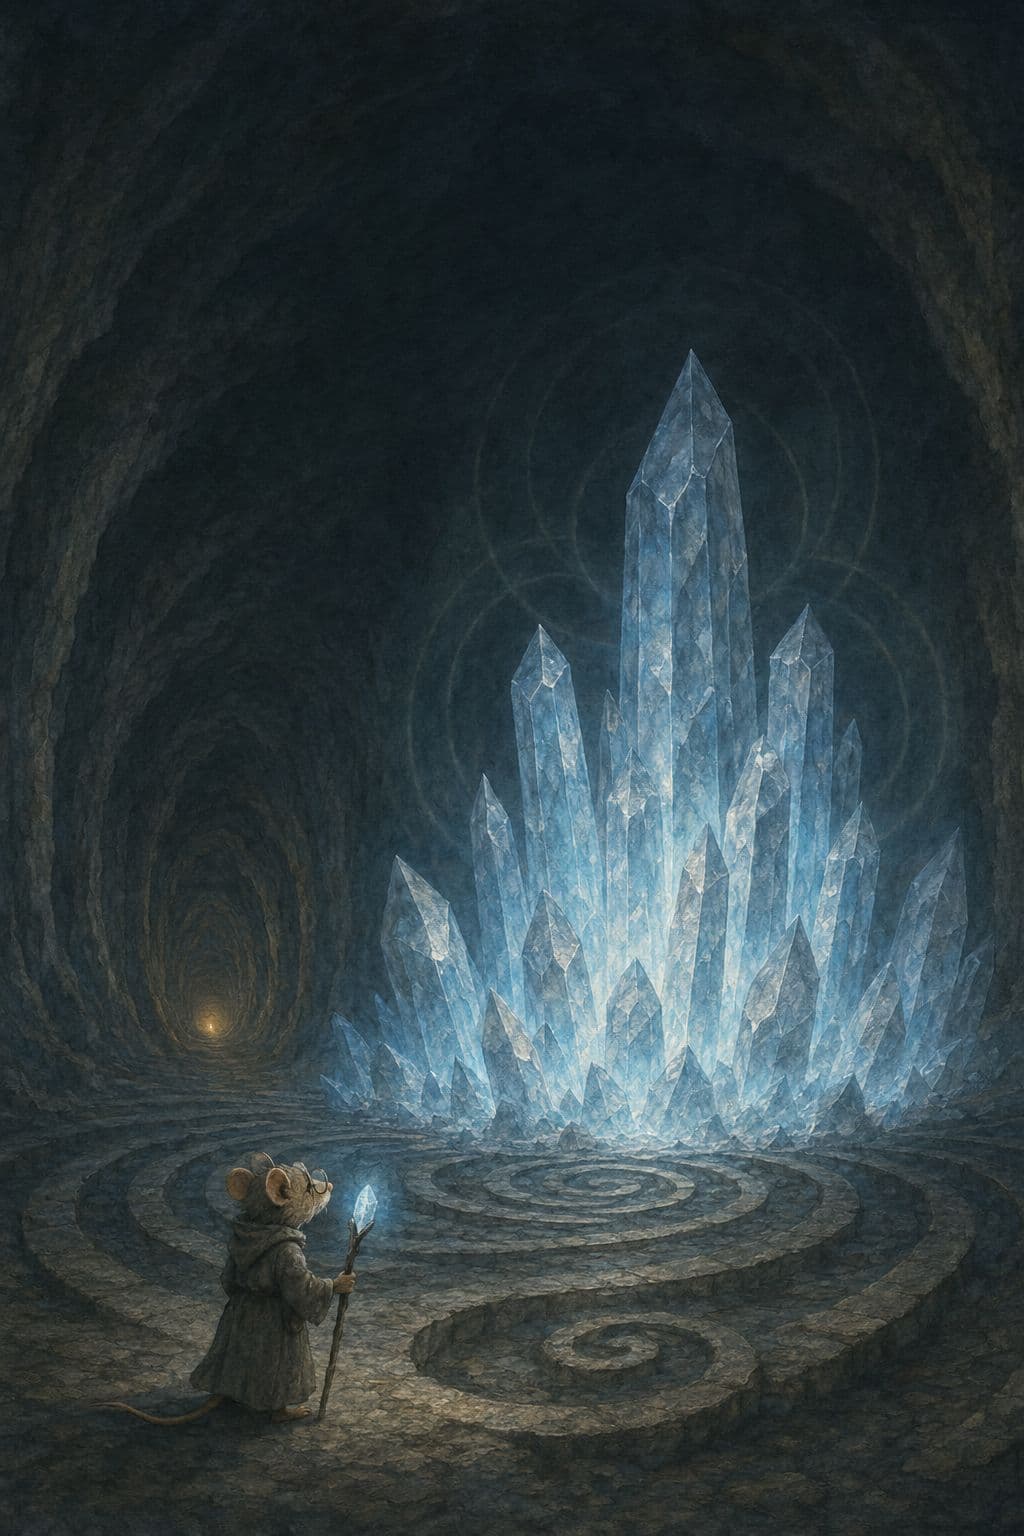
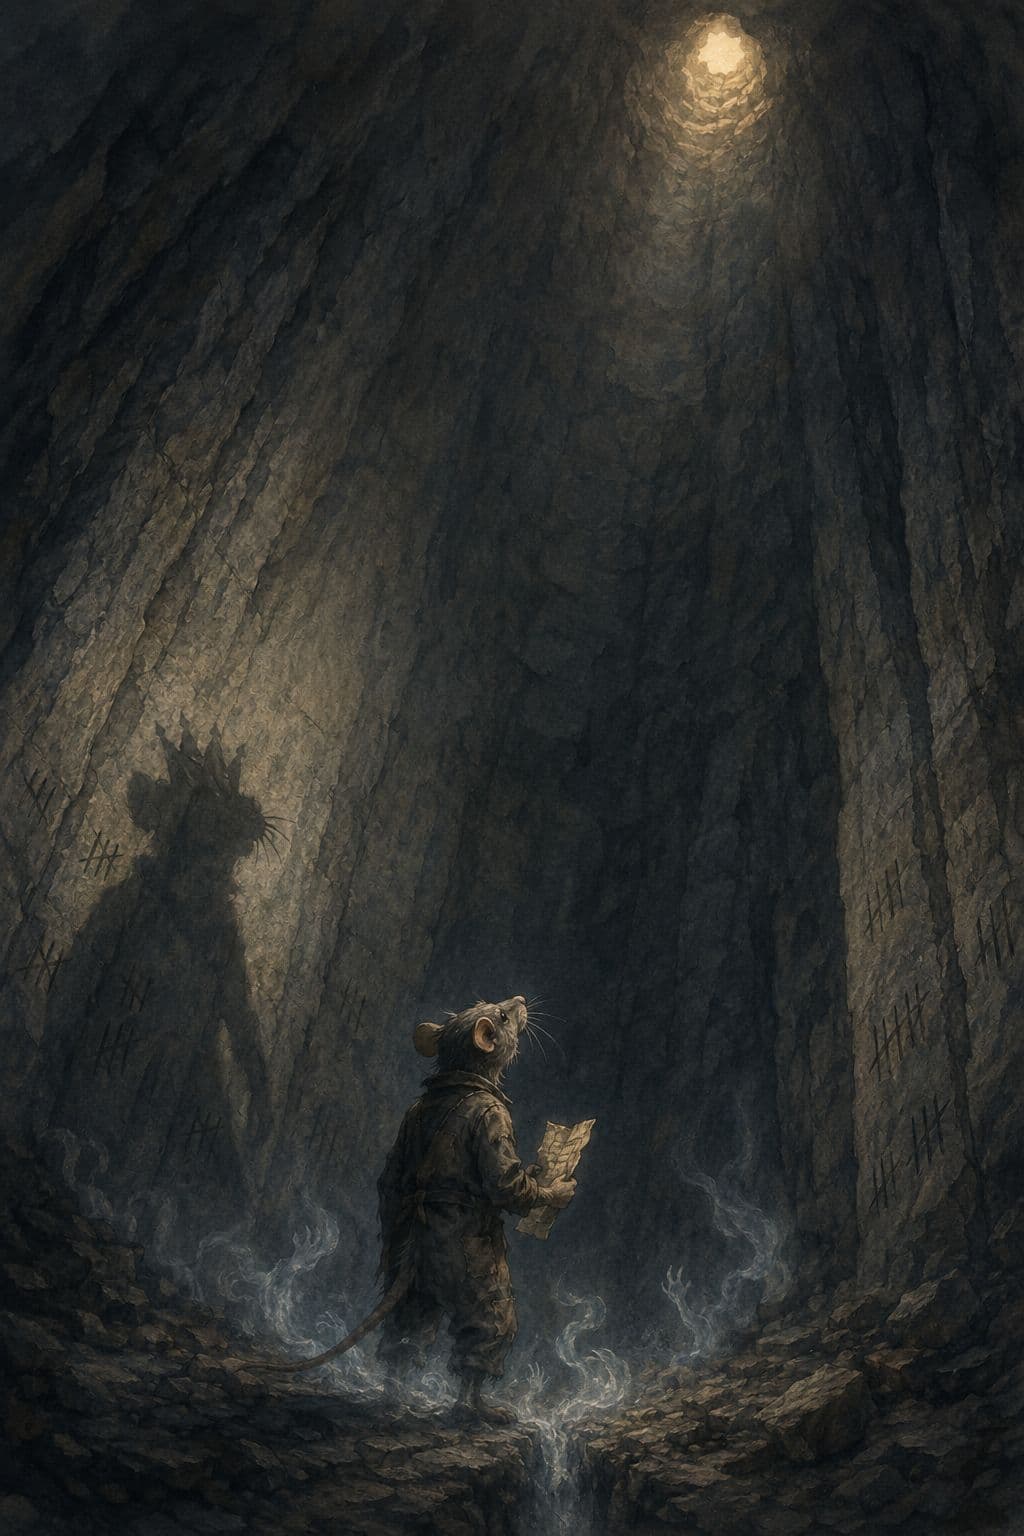
Planned contents
What’s in the box
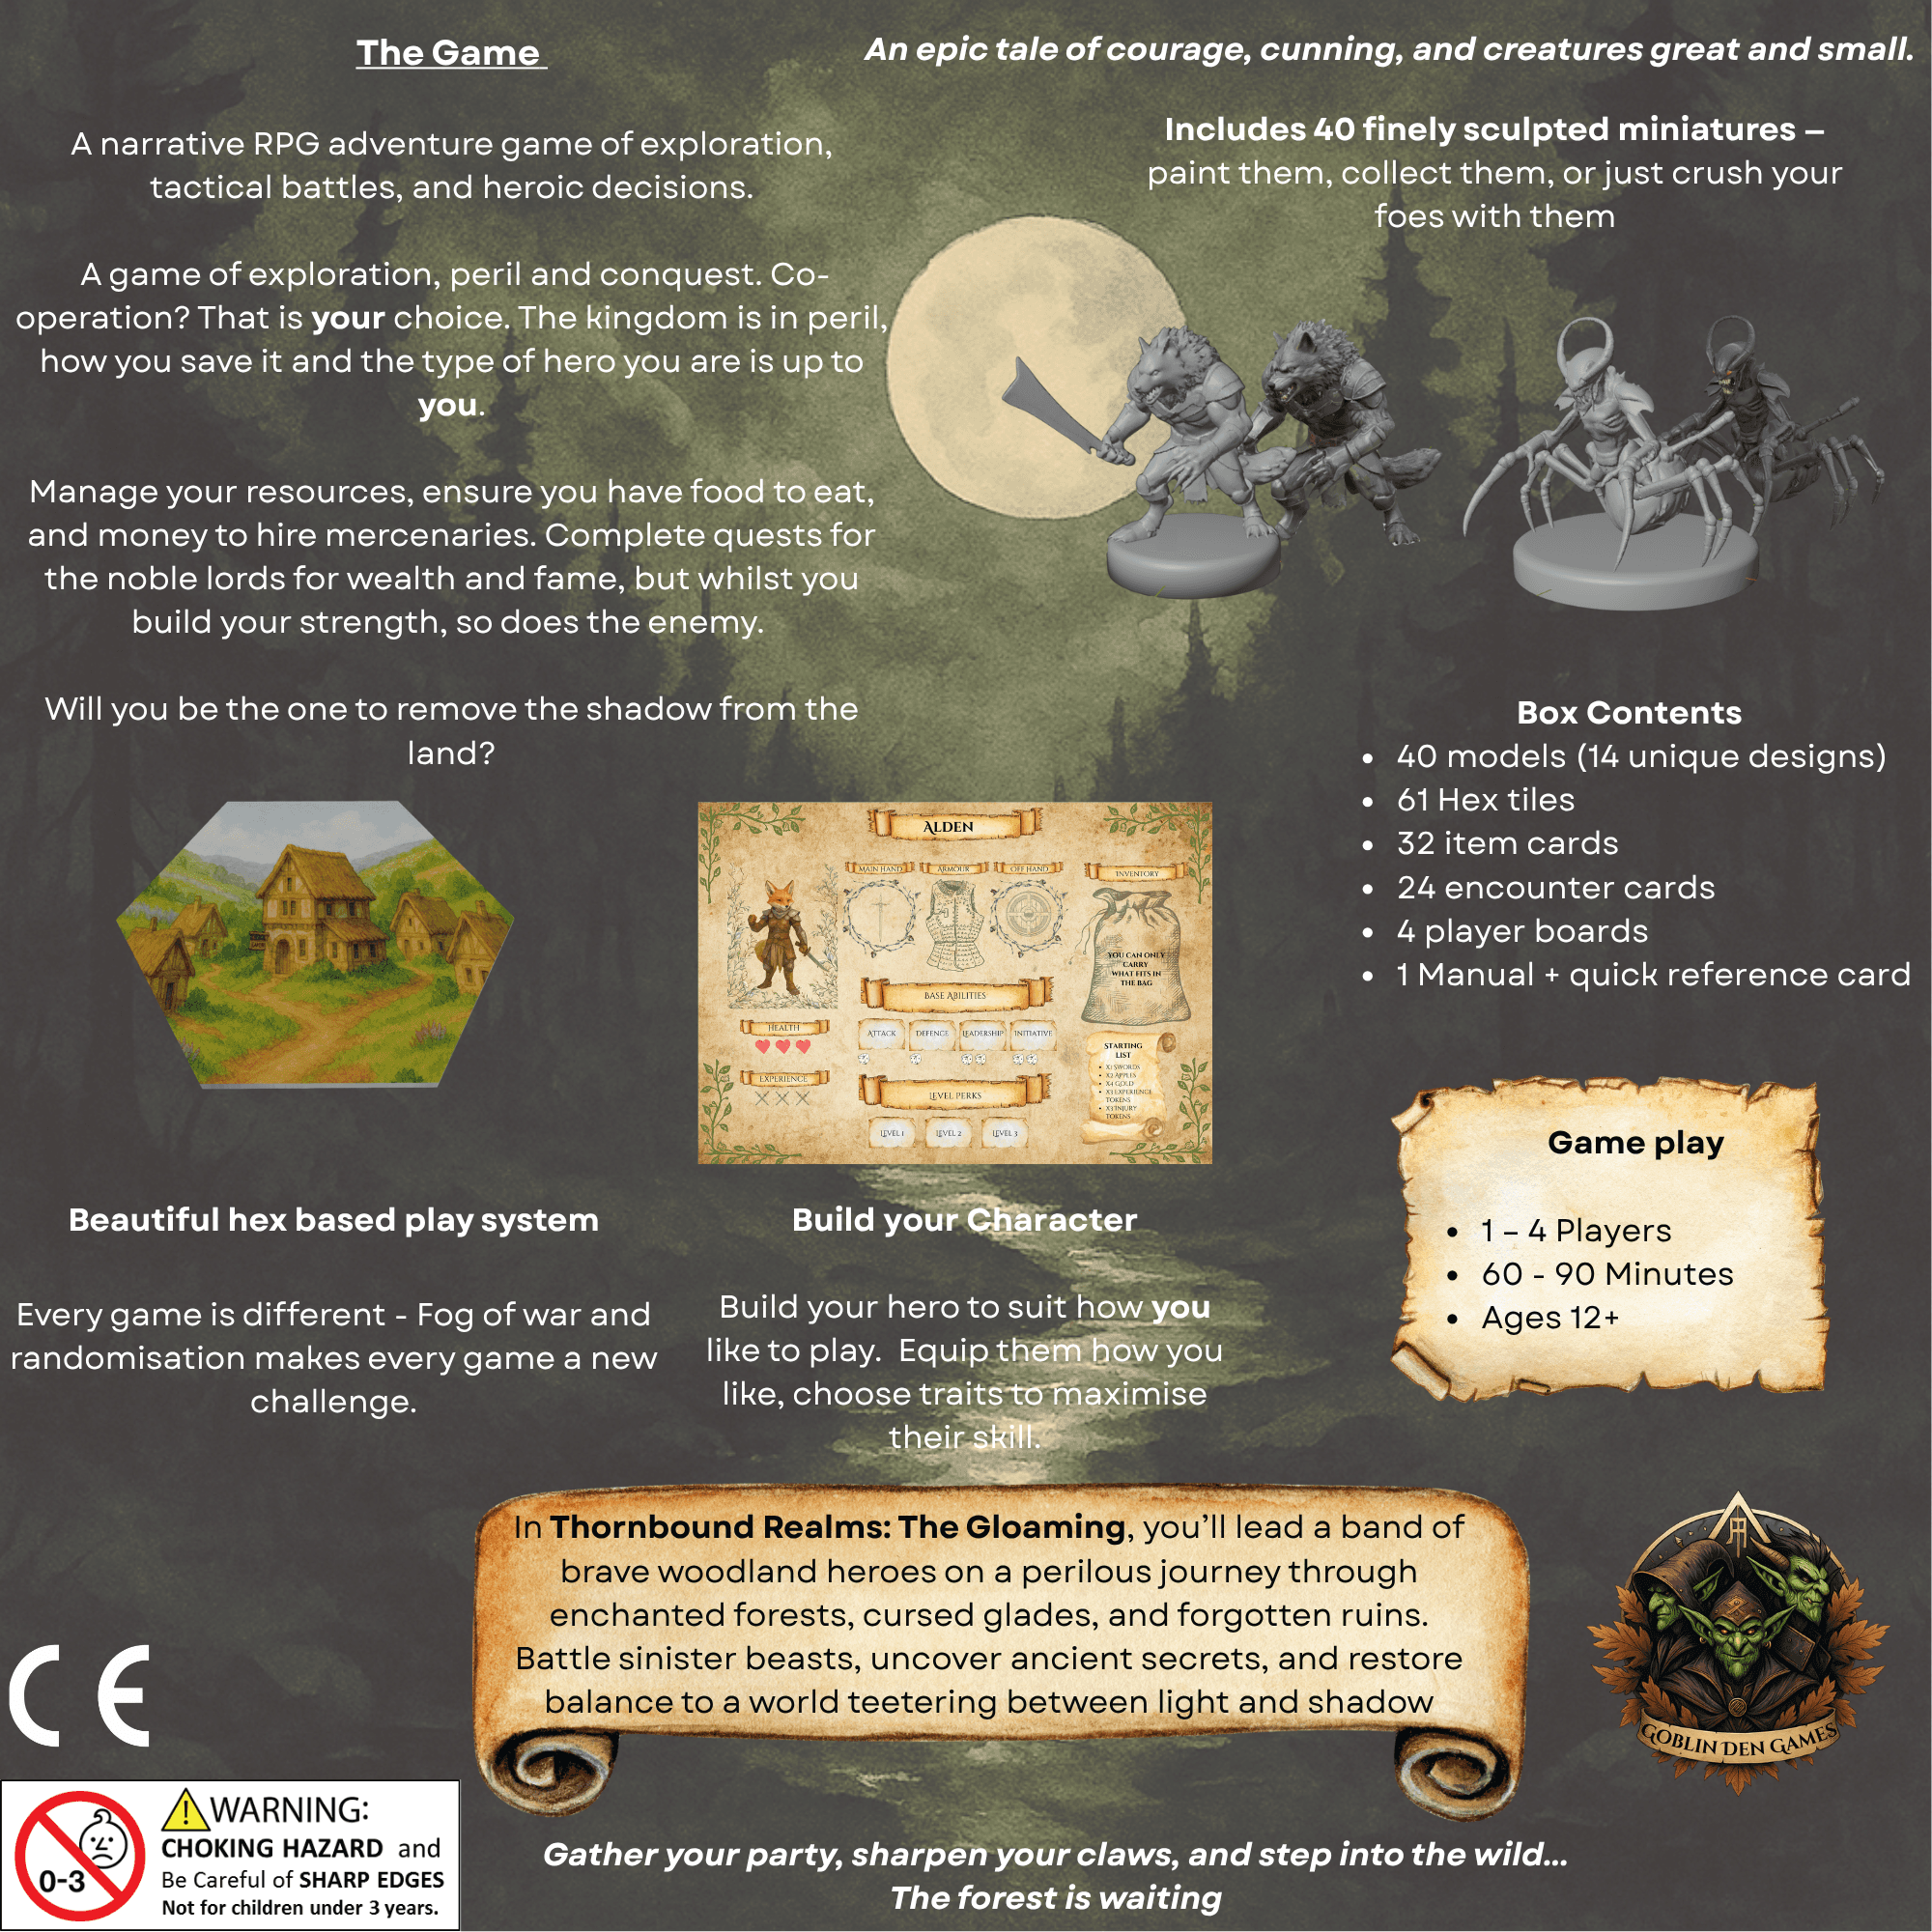
- 61 hex tiles
- Double-sided: terrain on the front, fog on the back
- 76 figures
- 5 heroes, 44 soldiers in four colours, and 27 rats, wolves, spiders, trolls, shamans and their king
- About 150 cards
- Rat events and missions, encounters, caves, quests, perks, equipment and spell scrolls
- 18 custom dice
- Attack, defence and resource dice, all engraved
- Boards
- 5 hero boards, battle maps for 7 terrain layouts, the Terror Track and the Rat Player board
- Tokens
- Gold, apples, wood, crystal, corruption, mist, siege and renown. Thirty of the components are apples
The Standard Edition uses standees for every unit; the Premium Edition swaps them for resin miniatures. Thornbound Realms is still in development, so counts may shift a little before release.